
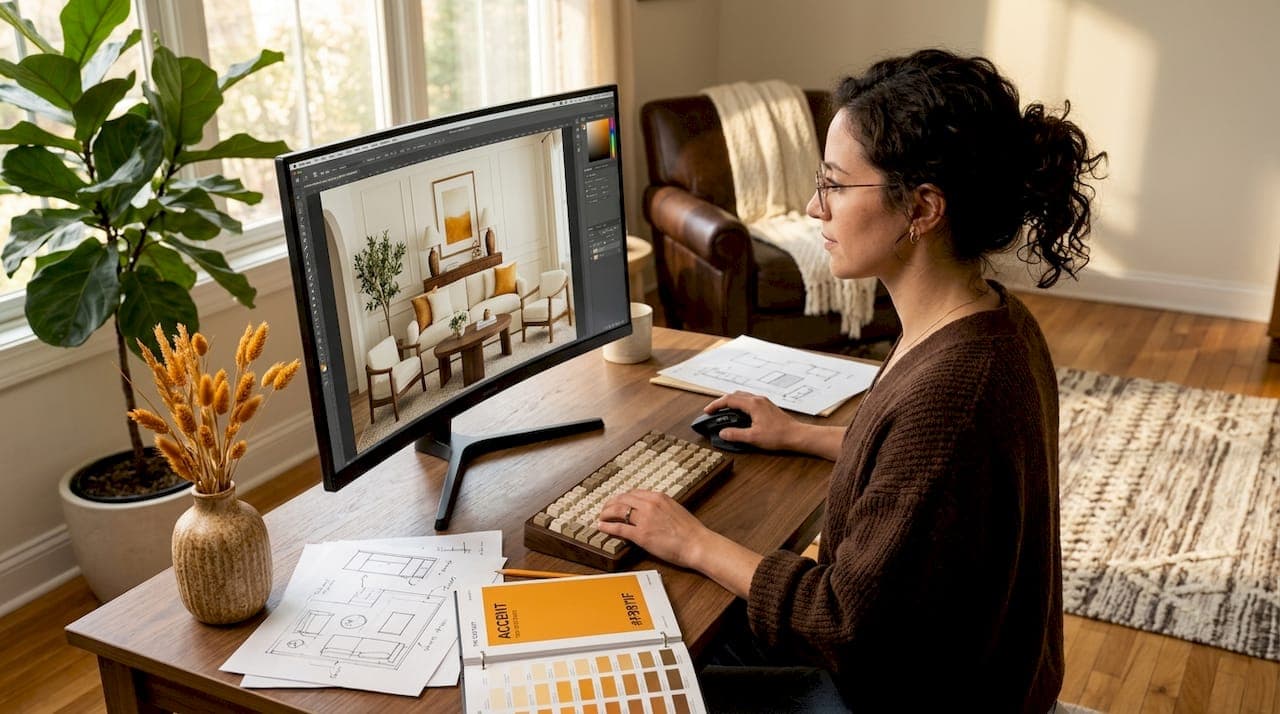
Room design visualization is the practice of creating realistic, preview-quality images of a redesigned space before a single piece of furniture moves or a wall gets painted. For home makeover buyers, this process removes guesswork, reduces costly mistakes, and builds the confidence needed to commit to a purchase or renovation. AI platforms like Glif, VisualizeAI, and Dehome AI have made professional-grade visualization accessible to anyone with a smartphone and a photo of their room. Whether you are a homeowner planning a living room overhaul, a renter testing new decor, or an Airbnb host refreshing a guest suite, knowing how to visualize room redesign buyers respond to positively is the single most practical skill you can develop before spending a dollar.
What tools help you visualize room redesign buyers will act on?
The market for room design visualization tools splits cleanly into three categories: AI-powered platforms, browser-based room planners, and low-tech physical methods. Each serves a different budget, skill level, and use case.
AI-powered platforms
AI platforms generate virtual staging and full renovation previews within minutes, making them the fastest option for realistic results. Glif handles virtual staging, renovation previews, and move-in progress modeling from a single uploaded photo. VisualizeAI accepts existing room images or floor plans plus text instructions to add, remove, or swap elements in the scene. Dehome AI converts rough sketches and basic floor plans into photorealistic 3D previews, which is particularly useful when you are working from a blank-slate renovation rather than an existing furnished room.

AI staging costs between $0 and $50 per room and delivers results in under an hour, compared to traditional staging that takes one to two weeks and runs $500 to $2,000 per room. That cost difference alone explains why AI visualization has become the default starting point for home makeover buyers who want to see results before committing.
Browser-based room planners
Planner 5D and Arcadium 3D offer free and paid tiers for virtual room planning without requiring any AI knowledge. You drag and drop furniture, adjust dimensions, and walk through a 3D model of your space. These tools are slower than AI renders but give you precise spatial control, which matters when you are testing whether a sectional sofa actually fits a specific wall.
Low-tech physical methods
Painter's tape outlines and cardboard furniture mockups remain surprisingly effective for testing spatial fit and layout before purchasing. Tape the footprint of a new sofa on your floor and live with it for a day. Cut cardboard to the height of a proposed bookshelf and stand it against the wall. These methods cost nothing and reveal scale problems that even good renders sometimes miss.
| Tool | Cost | Speed | Best for |
|---|---|---|---|
| Glif | $0–$50/room | Under 1 hour | Virtual staging, renovation previews |
| VisualizeAI | Free tier available | Minutes | Style swaps, element edits |
| Dehome AI | Varies | Minutes | Sketch-to-3D, floor plan renders |
| Planner 5D | Free/paid | 30–60 min | Precise layout planning |
| Painter's tape | $0 | Immediate | Spatial fit testing |
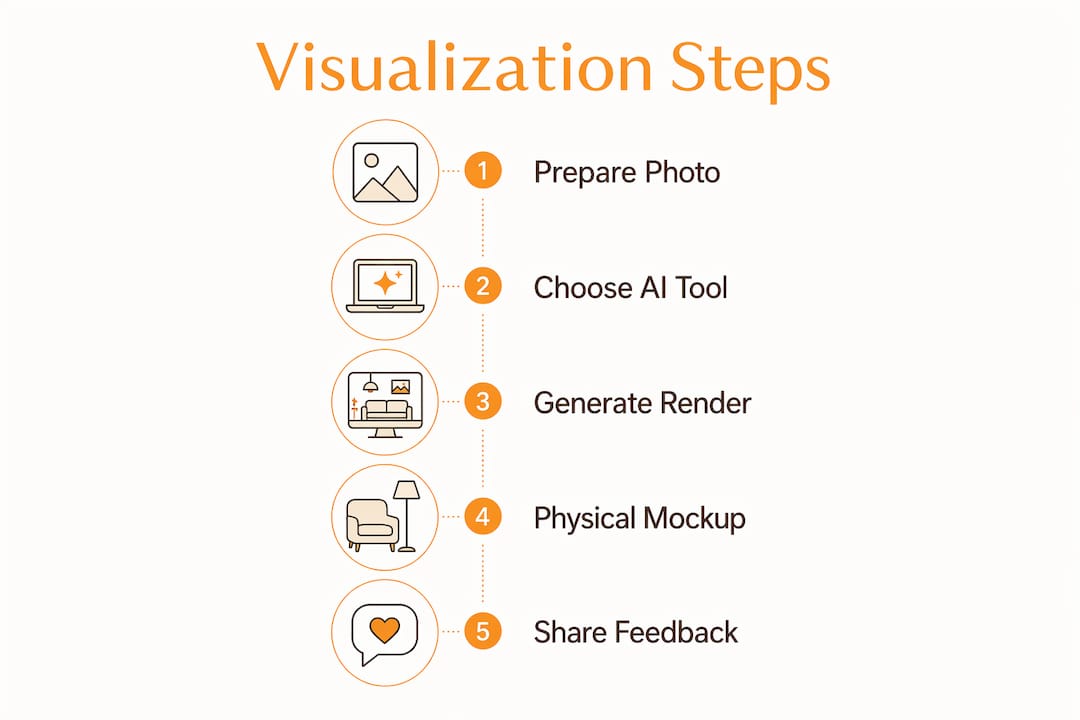
How to use AI platforms for realistic redesign visuals
Getting buyer-ready results from an AI visualization tool depends almost entirely on the quality of your inputs. A blurry, single-angle photo taken in dim light will produce an unreliable render no matter how good the platform is.
Follow these steps to get results worth sharing:
-
Capture multiple angles in consistent lighting. Multi-angle photos reduce artifacts and improve the accuracy of AI renders significantly. Shoot from each corner of the room, at eye level, in natural daylight or with all artificial lights on at the same time.
-
Write a specific text prompt. Vague prompts like "make it modern" produce generic results. Specific prompts like "Scandinavian living room, white oak floors, linen sofa, warm pendant lighting" give the AI enough direction to generate something realistic and usable.
-
Use VisualizeAI's element-level editing. VisualizeAI creates detailed renders from existing images or floor plans, including adding or removing specific furniture pieces. This lets you test one change at a time rather than overhauling the entire room in a single render.
-
Generate side-by-side material comparisons. Material option matrices reduce ambiguity and help buyers converge on realistic selections that translate directly into purchase orders or contractor quotes. Run the same room with three different flooring options and compare them at once.
-
Iterate at least three versions. The first render is a draft. Adjust the prompt, swap one element, or change the lighting direction and regenerate. Most buyers need to see two or three versions before they feel confident in a direction.
-
Check for common AI artifacts. Look for distorted window frames, furniture legs that disappear into the floor, or walls that curve unnaturally. These artifacts signal that your source photo lacked enough detail in that area. Retake the photo with better coverage of that corner.
Pro Tip: Before uploading to any AI tool, edit your source photo to remove clutter and personal items. A clean, neutral starting image produces cleaner renders and makes the redesigned version easier for buyers to evaluate objectively.
What legal and ethical rules apply to AI buyer visualizations?
Using AI to create interior redesign ideas for marketing purposes carries real legal weight in 2026, particularly in California.
California's Assembly Bill 723 requires disclosure and access to original photos for any AI-altered listing images that materially change a property's appearance, effective January 1, 2026. "Material alteration" means changes that affect how a buyer perceives the property's condition or features, not basic brightness or contrast corrections. Removing water damage, adding square footage, or staging a vacant room with AI-generated furniture all qualify as material alterations under this standard.
"AI-enhanced images that materially alter property perception require clear disclosure plus original photo access to avoid misleading buyers." — Hoffman | Forde legal analysis of AB 723
The practical implication is straightforward. If you use Glif or VisualizeAI to show a buyer what a room could look like after renovation, label the image clearly as a visualization or render. Always keep the original unedited photo available and share it alongside the AI version. This practice protects you legally and builds buyer trust by showing honesty about the current state of the space.
Non-compliance carries consequences under Business and Professions Code 10140.8, including disciplinary action for licensed real estate professionals. Even for private sellers and homeowners, the reputational risk of a buyer feeling misled after purchase is significant enough to make disclosure the obvious choice.
How to combine digital and physical methods for better results
The most reliable visualization strategy for home makeover buyers uses both digital tools and physical techniques together. Neither approach alone covers every decision a buyer needs to make.
Start with painter's tape and cardboard to solve the spatial questions first. Mark furniture footprints on the floor, tape door swing arcs, and stand cardboard panels where walls or partitions might go. This takes less than an hour and eliminates the most common redesign mistake: choosing furniture that looks right in a render but physically cannot fit the room.
Once the spatial layout is confirmed, move to digital tools for style and material decisions:
- Build a mood board using real product photos from IKEA, Amazon, or Wayfair alongside your AI renders. Seeing actual purchasable items next to the visualization closes the gap between inspiration and reality.
- Use Planner 5D or Arcadium 3D to lock in the confirmed layout and experiment with color schemes, lighting positions, and furniture arrangements without touching the physical space.
- Digital photo editing to paint walls, remove furniture, or overlay new items helps rough-draft changes quickly before committing to a full AI render.
- Test your finalized visualization in the physical space by printing key renders and holding them up in the room. Lighting and sightlines in person often reveal issues that screens hide.
- Share the combined mood board and renders with family members, roommates, or clients before finalizing any purchases. A second set of eyes consistently catches proportion and color issues that the original designer misses.
Pro Tip: When sharing visualizations for feedback, present the before photo and the AI render side by side rather than the render alone. Buyers and collaborators give more useful feedback when they can see exactly what changed.
Buyer-facing visualization works best when it combines staging, renovation previews, and progress modeling for a complete picture of the transformation. Using only one type of visual leaves gaps that buyers fill with doubt.
How to troubleshoot visualization problems that undermine buyer confidence
Even with good tools and inputs, specific problems appear repeatedly in room design visualization projects. Knowing how to fix them quickly keeps the process moving.
-
Poor photo quality produces unreliable renders. Retake source photos in bright, even lighting with a wide-angle lens or your phone's panorama mode. Single-angle shots are the leading cause of distorted AI outputs.
-
Renders look too perfect and lose buyer trust. Hyper-polished visuals that look nothing like the actual space create skepticism. Dial back the AI's style intensity settings and request "realistic" or "photo-realistic" rather than "magazine-quality" in your prompt.
-
Buyers cannot connect the render to the real room. Always include a clear before-and-after comparison. Place the original photo and the visualization at the same scale and angle so the connection is obvious.
-
Material choices look different in person than in the render. Order physical samples of flooring, paint, and fabric before finalizing any purchase. AI renders approximate color and texture but cannot replicate how materials behave under your specific room's light.
-
Decision fatigue sets in after too many options. Limit material and style comparisons to three options per decision. More than three choices consistently delays buyer decisions without improving outcomes.
-
Compliance gaps create legal exposure. Before using any visualization in marketing or sales materials, verify that your AI tool and your disclosure practices meet the requirements of your local jurisdiction. California's AB 723 is the most detailed standard currently in effect, but other states are adopting similar rules in 2026.
Key takeaways
Effective room design visualization combines AI tools, physical mockups, and transparent disclosure practices to produce buyer confidence at every stage of the redesign process.
| Point | Details |
|---|---|
| AI tools cut cost and time | Platforms like Glif deliver staging results in under an hour for $0–$50, versus weeks and thousands for traditional staging. |
| Input quality determines output quality | Multi-angle, well-lit source photos are the single biggest factor in getting reliable AI renders. |
| Legal disclosure is mandatory | California AB 723 requires labeling and original photo access for all materially altered AI images used in property marketing. |
| Combine digital and physical methods | Painter's tape and cardboard solve spatial problems that even accurate renders miss. |
| Iterate before committing | Running three visualization versions and a side-by-side material matrix reduces buyer hesitation and purchase regret. |
Why I think most people are using visualization tools backwards
Most people I see working with AI visualization tools treat the render as the final product. They generate one image, share it, and wait for a reaction. That approach misses the entire point of the technology.
The render is a conversation starter, not a conclusion. The real value of tools like VisualizeAI or Dehome AI is the speed at which you can iterate. You should be generating five or six versions of a room in the time it used to take to describe one idea to a designer. Each version answers a specific question: Does warm wood work better than painted white? Does the room feel larger with the sofa against the far wall? Does the pendant light read as too industrial for this space?
What I have also found is that the buyers who feel most confident after a visualization process are the ones who were shown the original photo alongside every render. Transparency does not undermine the appeal of a redesign. It actually strengthens it, because buyers trust what they can verify. The legal requirements in California around AB 723 are not a burden. They are a codification of what good practice already looks like.
The hybrid approach, combining a $0 tape-on-the-floor spatial test with a $20 AI render and a printed mood board, consistently outperforms any single-method strategy. The tools are not the strategy. How you sequence and combine them is.
— Bill
See your room transformed in seconds with Thecozyedit
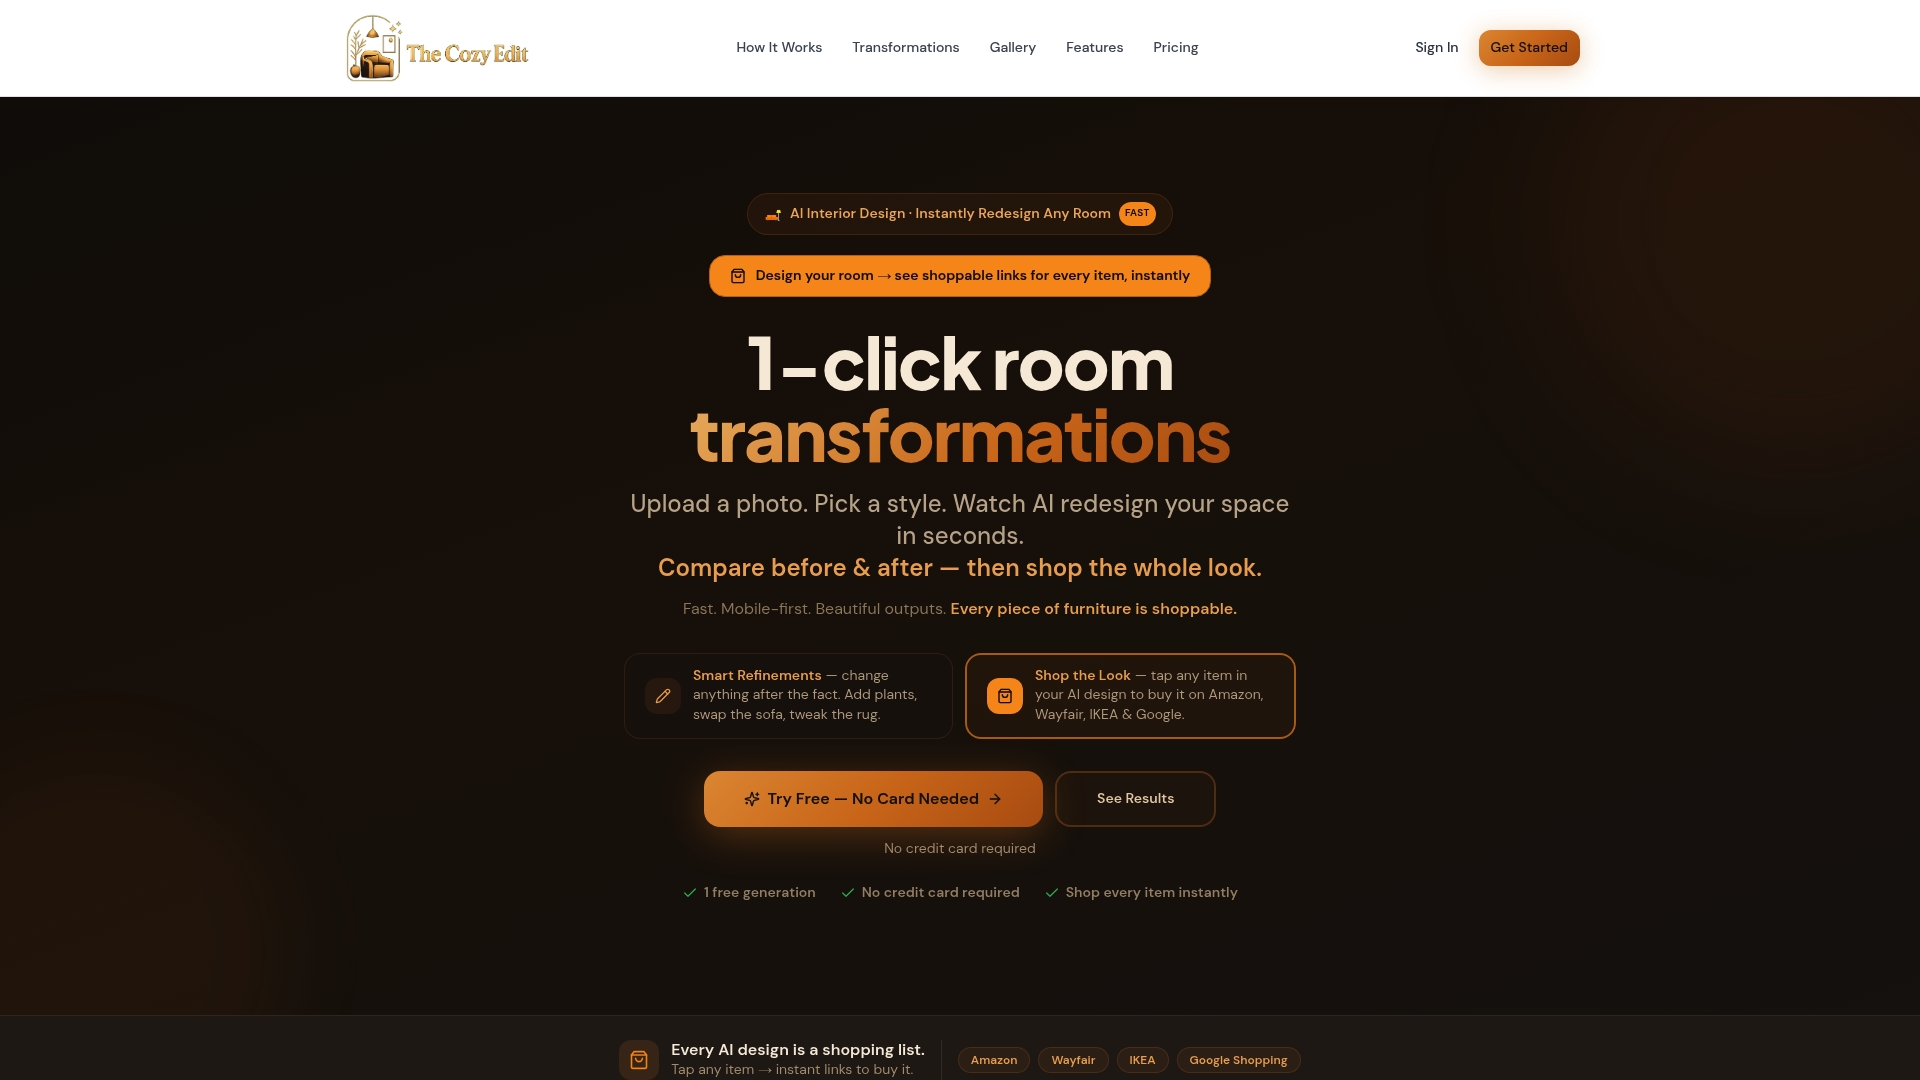
Thecozyedit is built specifically for homeowners, renters, and Airbnb hosts who want professional-quality room redesign visuals without hiring a designer or learning complex software. You upload a photo of your space, choose a style, and receive an instant AI-generated redesign complete with shoppable links to products from Amazon and IKEA. Every result is ready in seconds, not days. Users report significant savings on renovation costs by seeing exactly what works before buying anything. If you are ready to move from guessing to knowing, try Thecozyedit and see your space transformed before you spend a dollar.
FAQ
What does it mean to visualize room redesign buyers will trust?
It means creating realistic before-and-after visuals using AI tools or physical mockups that accurately represent the proposed changes, paired with transparent disclosure of any AI edits. Buyer trust comes from seeing both the current state and the redesigned version together.
Which AI tool is best for room design visualization?
Glif, VisualizeAI, and Dehome AI each serve different needs. Glif excels at virtual staging and renovation previews, VisualizeAI handles element-level edits from photos or floor plans, and Dehome AI converts sketches into photorealistic 3D renders.
Do I need to disclose AI-generated room visuals?
In California, yes. AB 723 requires disclosure and access to original unedited photos for any AI-altered images used in property marketing that materially change the appearance of the space, effective January 1, 2026.
How do I get better results from AI visualization tools?
Capture multiple angles in consistent lighting, write specific style prompts, and generate at least three iterations before selecting a final version. Photo quality is the single largest factor in render accuracy.
Can I visualize a room redesign without spending money?
Yes. Painter's tape and cardboard mockups cost nothing and solve spatial layout questions effectively. Free tiers on platforms like VisualizeAI and Planner 5D cover basic virtual room planning without any payment required.