
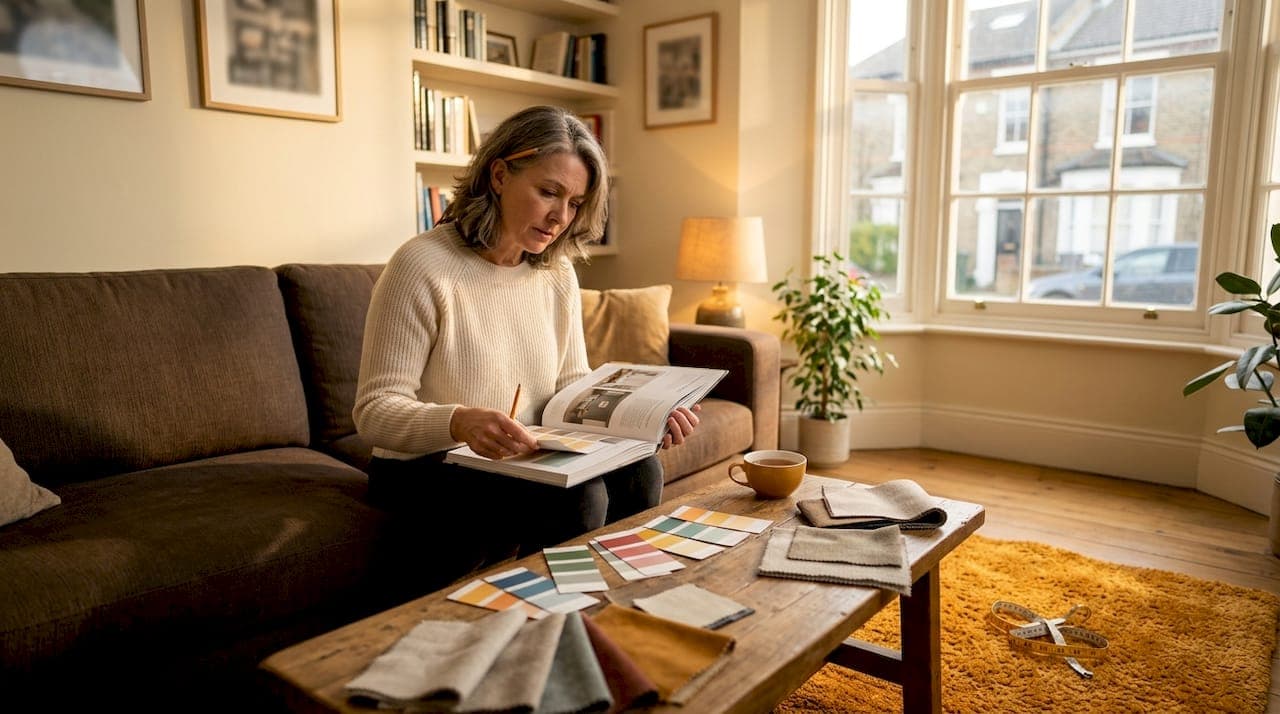
Room redesign is the cost-effective alternative to full renovation, allowing homeowners to refresh a space by updating aesthetics without touching structure, pulling permits, or hiring a general contractor. Where a kitchen or bathroom renovation starts at $15,000, a targeted redesign using paint, lighting swaps, and peel-and-stick tiles can deliver a comparable visual transformation for a fraction of that cost. Understanding how room redesign saves renovation budget starts with recognizing that most rooms do not need structural work. They need smarter cosmetic decisions. This guide breaks down exactly where the savings come from and how to capture them.
How room redesign saves renovation budget vs. full remodeling
Renovations and redesigns sit at opposite ends of the same spectrum. A full renovation involves demolition, trade labor, permits, and weeks of disruption. A redesign focuses on surface-level updates: paint, hardware, lighting, textiles, and accessories. The financial gap between the two is significant.
Kitchen and bath renovations typically start at $15,000 to $20,000, while a redecorating project can cost under $500 in some cases. That gap exists because redesign eliminates the three biggest cost drivers in any renovation: trade labor, permit fees, and material replacement. When you paint grout instead of retiling, you skip the tile setter. When you swap a light fixture instead of rewiring, you skip the electrician.
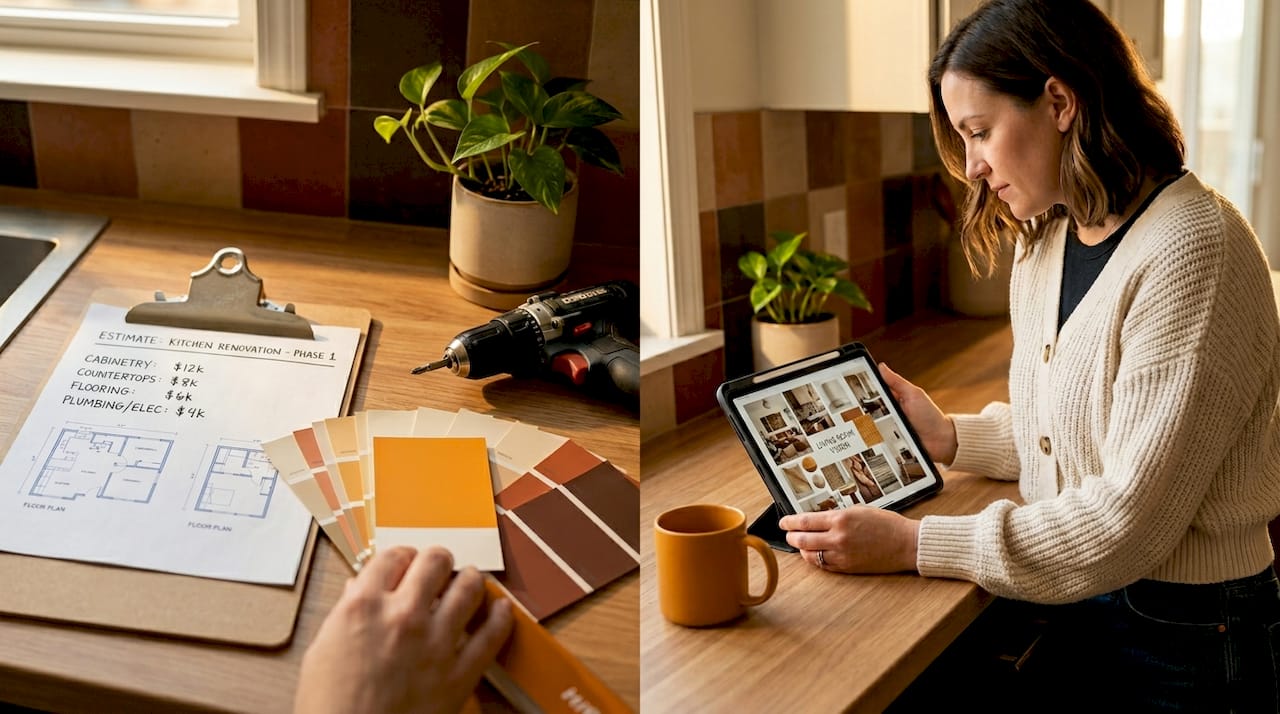
The disruption factor matters too. A full kitchen renovation can leave a household without a functional cooking space for two to six weeks. A redesign weekend project is done by Sunday evening. For homeowners with families, renters with lease constraints, or Airbnb hosts who cannot afford vacancy, that timeline difference is not just a convenience. It directly affects income and livability.
| Approach | Typical cost range | Permit required | Timeline |
|---|---|---|---|
| Full kitchen renovation | $15,000 to $50,000+ | Yes | 4 to 12 weeks |
| Cosmetic redesign | $200 to $5,000 | No | 1 to 7 days |
| Single-room redecoration | Under $500 to $2,000 | No | Hours to 2 days |
Pro Tip: Before calling a contractor, walk through your space and list every element that bothers you. If most items on that list are visual rather than functional, a redesign will solve the problem at a fraction of the cost.
How to plan a budget-friendly room redesign without scope creep
Scope creep is the single most reliable way to blow a redesign budget. It starts with one decision: "While we're at it, let's also..." and ends with a project that costs three times the original estimate. Controlling scope from day one is not optional. It is the discipline that separates a successful budget-friendly room makeover from a financial regret.
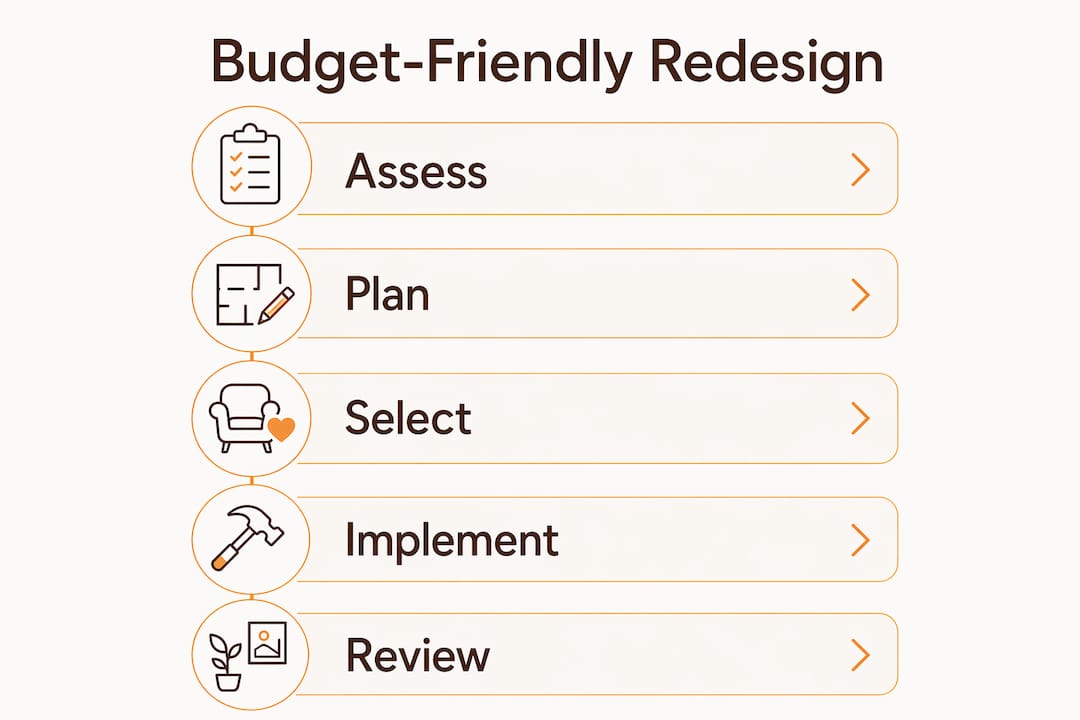
Follow these steps to build a plan that holds:
-
Write a fixed scope document before spending a dollar. List every element you will change and every element you will not touch. Walls get painted. Cabinets get new hardware. Flooring stays. Commit to that list in writing.
-
Set a room-by-room budget ceiling. Financial advisors recommend spending no more than 30% of your home's value on renovations to remain financially viable. For a redesign, your ceiling should be far lower. A living room refresh rarely needs to exceed $1,500 to achieve a meaningful transformation.
-
Add a 15% contingency buffer. Even cosmetic projects surface surprises. Paint reveals wall damage. A new rug exposes scratched floors. Budget for the unexpected before it happens, not after.
-
Research local material costs before finalizing your plan. Prices for paint, tile, and fixtures vary significantly by region and retailer. Checking Home Depot, IKEA, and Amazon pricing before committing prevents mid-project budget shocks.
-
Lock the plan and resist changes once work begins. Underestimating scope and making mid-project changes are the two most common causes of cost overruns. Every change order in a renovation adds labor time. In a DIY redesign, every change adds material waste and lost weekend hours.
The most effective budgets treat the scope document as a contract with yourself. If a new idea surfaces mid-project, write it down for the next phase rather than acting on it immediately. Incremental improvements over time consistently outperform one chaotic, over-budget overhaul.
Pro Tip: Photograph your room before starting and pin your inspiration images next to the photo. When you feel tempted to expand scope, compare the two. If your original plan already closes the gap, stay the course.
Cost-effective redesign techniques that actually work
The cheapest remodel combines strict scope control with cosmetic changes and DIY to minimize labor and material costs. The techniques below are proven, practical, and accessible to homeowners without professional trade skills.
-
Paint everything before replacing anything. Walls, cabinets, trim, and even grout respond dramatically to fresh paint. A $30 can of cabinet paint transforms dated oak cabinets without a $3,000 refacing job. A $80 grout painting kit restores tile to near-new condition in an afternoon.
-
Swap hardware and fixtures for instant visual impact. Cabinet pulls, door handles, faucet covers, and light switch plates are inexpensive and require only a screwdriver. Replacing brass hardware with matte black or brushed nickel updates a kitchen or bathroom by a decade in under an hour.
-
Use peel-and-stick products strategically. Peel-and-stick backsplash tile, available for around $170 per project, installs without grout, adhesive, or a tile saw. It is removable, which makes it ideal for renters. The same logic applies to peel-and-stick floor tiles over existing vinyl or laminate.
-
Refinish wood floors rather than replacing them. A floor sander rental from Home Depot costs roughly $60 per day. Refinishing a 200-square-foot room yourself costs under $200 in materials. Replacing the same floor with new hardwood starts at $1,500 installed.
-
Shop clearance, secondhand, and open-box inventory. Facebook Marketplace, Habitat for Humanity ReStores, and IKEA's "as-is" section regularly carry quality furniture and fixtures at 50 to 80% below retail. One secondhand credenza can anchor a living room redesign without touching the $300 to $500 budget for the entire space.
-
Upgrade textiles last, not first. Curtains, throw pillows, and rugs are the finishing layer that ties a redesign together. Fresh window treatments and a larger rug make a visible difference without intense work. Buy these after the paint dries so you can match colors accurately.
Which room upgrades deliver the highest ROI without heavy costs?
Not every upgrade delivers equal return. Prioritizing the right elements is what separates a cost-effective home redesign from money spent without measurable impact.
Lighting is the highest-ROI upgrade available to budget-conscious homeowners. A real-world example makes this concrete: a lighting upgrade costing $4,350 led to a home going under contract 19 days faster and selling at a higher price, with an estimated $5,000 added to the sale price and a gross ROI of approximately 122%. Lighting changes perception of space, ceiling height, and cleanliness more than almost any other single element. Swapping a dated overhead fixture for a modern pendant or adding under-cabinet LED strips costs $50 to $300 and takes two hours.
Paint and trim detailing rank second. Specifying lighting as an early visual anchor and sequencing paint and trim work carefully prevents expensive labor re-dos. In practical terms: choose your new light fixture first, then select wall paint that complements it. This order prevents repainting after a fixture swap changes the room's color temperature.
| Upgrade type | Typical cost | Visual impact | Resale benefit |
|---|---|---|---|
| Lighting fixtures | $50 to $400 | Very high | High |
| Fresh paint and trim | $100 to $400 | High | High |
| Cabinet hardware | $30 to $150 | Medium to high | Medium |
| Rugs and textiles | $80 to $300 | Medium | Low to medium |
| Peel-and-stick tile | $100 to $250 | High | Medium |
Strategic furniture placement and accessory editing also deliver outsized impact at zero cost. Removing excess furniture opens sightlines and makes rooms feel larger without spending anything. Rearranging what you already own around a new focal point, such as a gallery wall or a statement light fixture, creates a redesigned feel without purchasing a single new piece.
Key takeaways
Room redesign saves renovation budget by eliminating the three core cost drivers of full remodeling: trade labor, permits, and structural material replacement.
| Point | Details |
|---|---|
| Redesign vs. renovation cost gap | Full renovations start at $15,000+; targeted redesigns can cost under $500 to $2,000. |
| Scope control is non-negotiable | Write a fixed scope document before spending and resist mid-project changes to prevent cost overruns. |
| Lighting delivers the highest ROI | A lighting upgrade can yield a 122% gross ROI and accelerate a home sale by nearly three weeks. |
| DIY cosmetic techniques save thousands | Grout painting, peel-and-stick tile, and hardware swaps replace $3,000 to $10,000 in contractor work. |
| Sequence upgrades strategically | Choose lighting first, then paint, then textiles to avoid costly rework and color mismatches. |
What I've learned from watching redesigns go right and wrong
Most homeowners I've seen struggle with redesign budgets do not fail because they chose the wrong paint color. They fail because they never committed to a plan in the first place. The moment a project starts without a locked scope, every decision becomes negotiable, and negotiable decisions always cost more money.
The most effective approach I've observed is incremental. One room, one weekend, one defined budget. A living room refresh done well teaches you exactly what works in your home before you touch the bedroom or the kitchen. That knowledge is worth more than any single design choice.
I am also skeptical of the instinct to do everything at once. A single, well-executed lighting upgrade paired with fresh paint and new hardware will outperform a chaotic full-room overhaul every time, both visually and financially. The rooms that photograph best and sell fastest are not the ones where the most money was spent. They are the ones where decisions were made deliberately.
The uncomfortable truth about affordable room upgrades is that restraint is the skill. Knowing what not to change is as valuable as knowing what to update. If your floors are in decent shape, leave them. If your cabinets are structurally sound, paint them. Save the big spend for the one element that will genuinely transform the space, and let everything else support it.
— Bill
See your redesign before you spend a dollar
Thecozyedit removes the guesswork from budget-conscious redesign. Upload a photo of your room, select a style, and receive an instant shoppable redesign with direct links to products from Amazon and IKEA. You see exactly what the space will look like before committing to a single purchase. For homeowners, renters, and Airbnb hosts who want to maximize redesign impact without overspending on a designer or making costly mistakes, Thecozyedit delivers professional-grade visualization in seconds. It is the practical first step for anyone serious about saving money on renovations while still achieving a space worth living in.
FAQ
How much can room redesign save compared to full renovation?
A full kitchen or bathroom renovation starts at $15,000 to $20,000, while a cosmetic redesign of the same room can cost under $2,000. The savings come from eliminating trade labor, permits, and structural material replacement.
What are the highest-impact changes in a budget room redesign?
Lighting upgrades, fresh paint, and cabinet hardware swaps deliver the strongest visual return per dollar spent. A lighting change alone can yield a 122% gross ROI and measurably accelerate a home sale.
How do I avoid going over budget on a room redesign?
Write a fixed scope document before spending anything, set a firm budget ceiling, and add a 15% contingency fund for surprises. Avoiding mid-project changes is the single most reliable way to stay on budget.
Is DIY redesign realistic for someone without trade skills?
Yes. The most cost-effective redesign techniques, including painting, hardware swaps, peel-and-stick tile, and lighting fixture replacement, require no trade license and minimal tools. Focus on cosmetic changes that avoid plumbing and electrical work to stay within DIY territory.
How much should I budget for a single-room redesign?
Financial guidance recommends spending no more than 30% of your home's value on renovations overall. For a single-room cosmetic redesign, most spaces can be meaningfully transformed for $500 to $2,000 depending on size and the scope of updates chosen.